Calling all amateur hikers (yes even the ones who think they are super outdoorsy cuz they’ve done other outdoorsy things but never hiked and confidence is a little too high… I see you, I am you). The Mantario trail is very well-known and well done because it is the longest hike in Manitoba and accessible. MAKE NO MISTAKE. This doesn’t mean it is a walk in the park. This is a challenging hike for first time overnight hikers. The most difficult portion is probably walking with swollen and blistered feet at the end more than any elevation the hike throws your way. Here is your complete guide to the Mantario Trail so you are fully prepared and finish it in better shape than I did.
1. Quick Facts
Distance: 63km
Days to Complete: 3-7
Campsites: 12
2. What to pack?
Think light and pack smart. This means one pair of wet clothes (for during the day) and one pair of dry clothes (for at the campsite and to sleep in). No, you don’t need to change your shirt everyday. Equipment and food should be split up among all the packs so the weight is evenly distributed and you can access snacks easily.
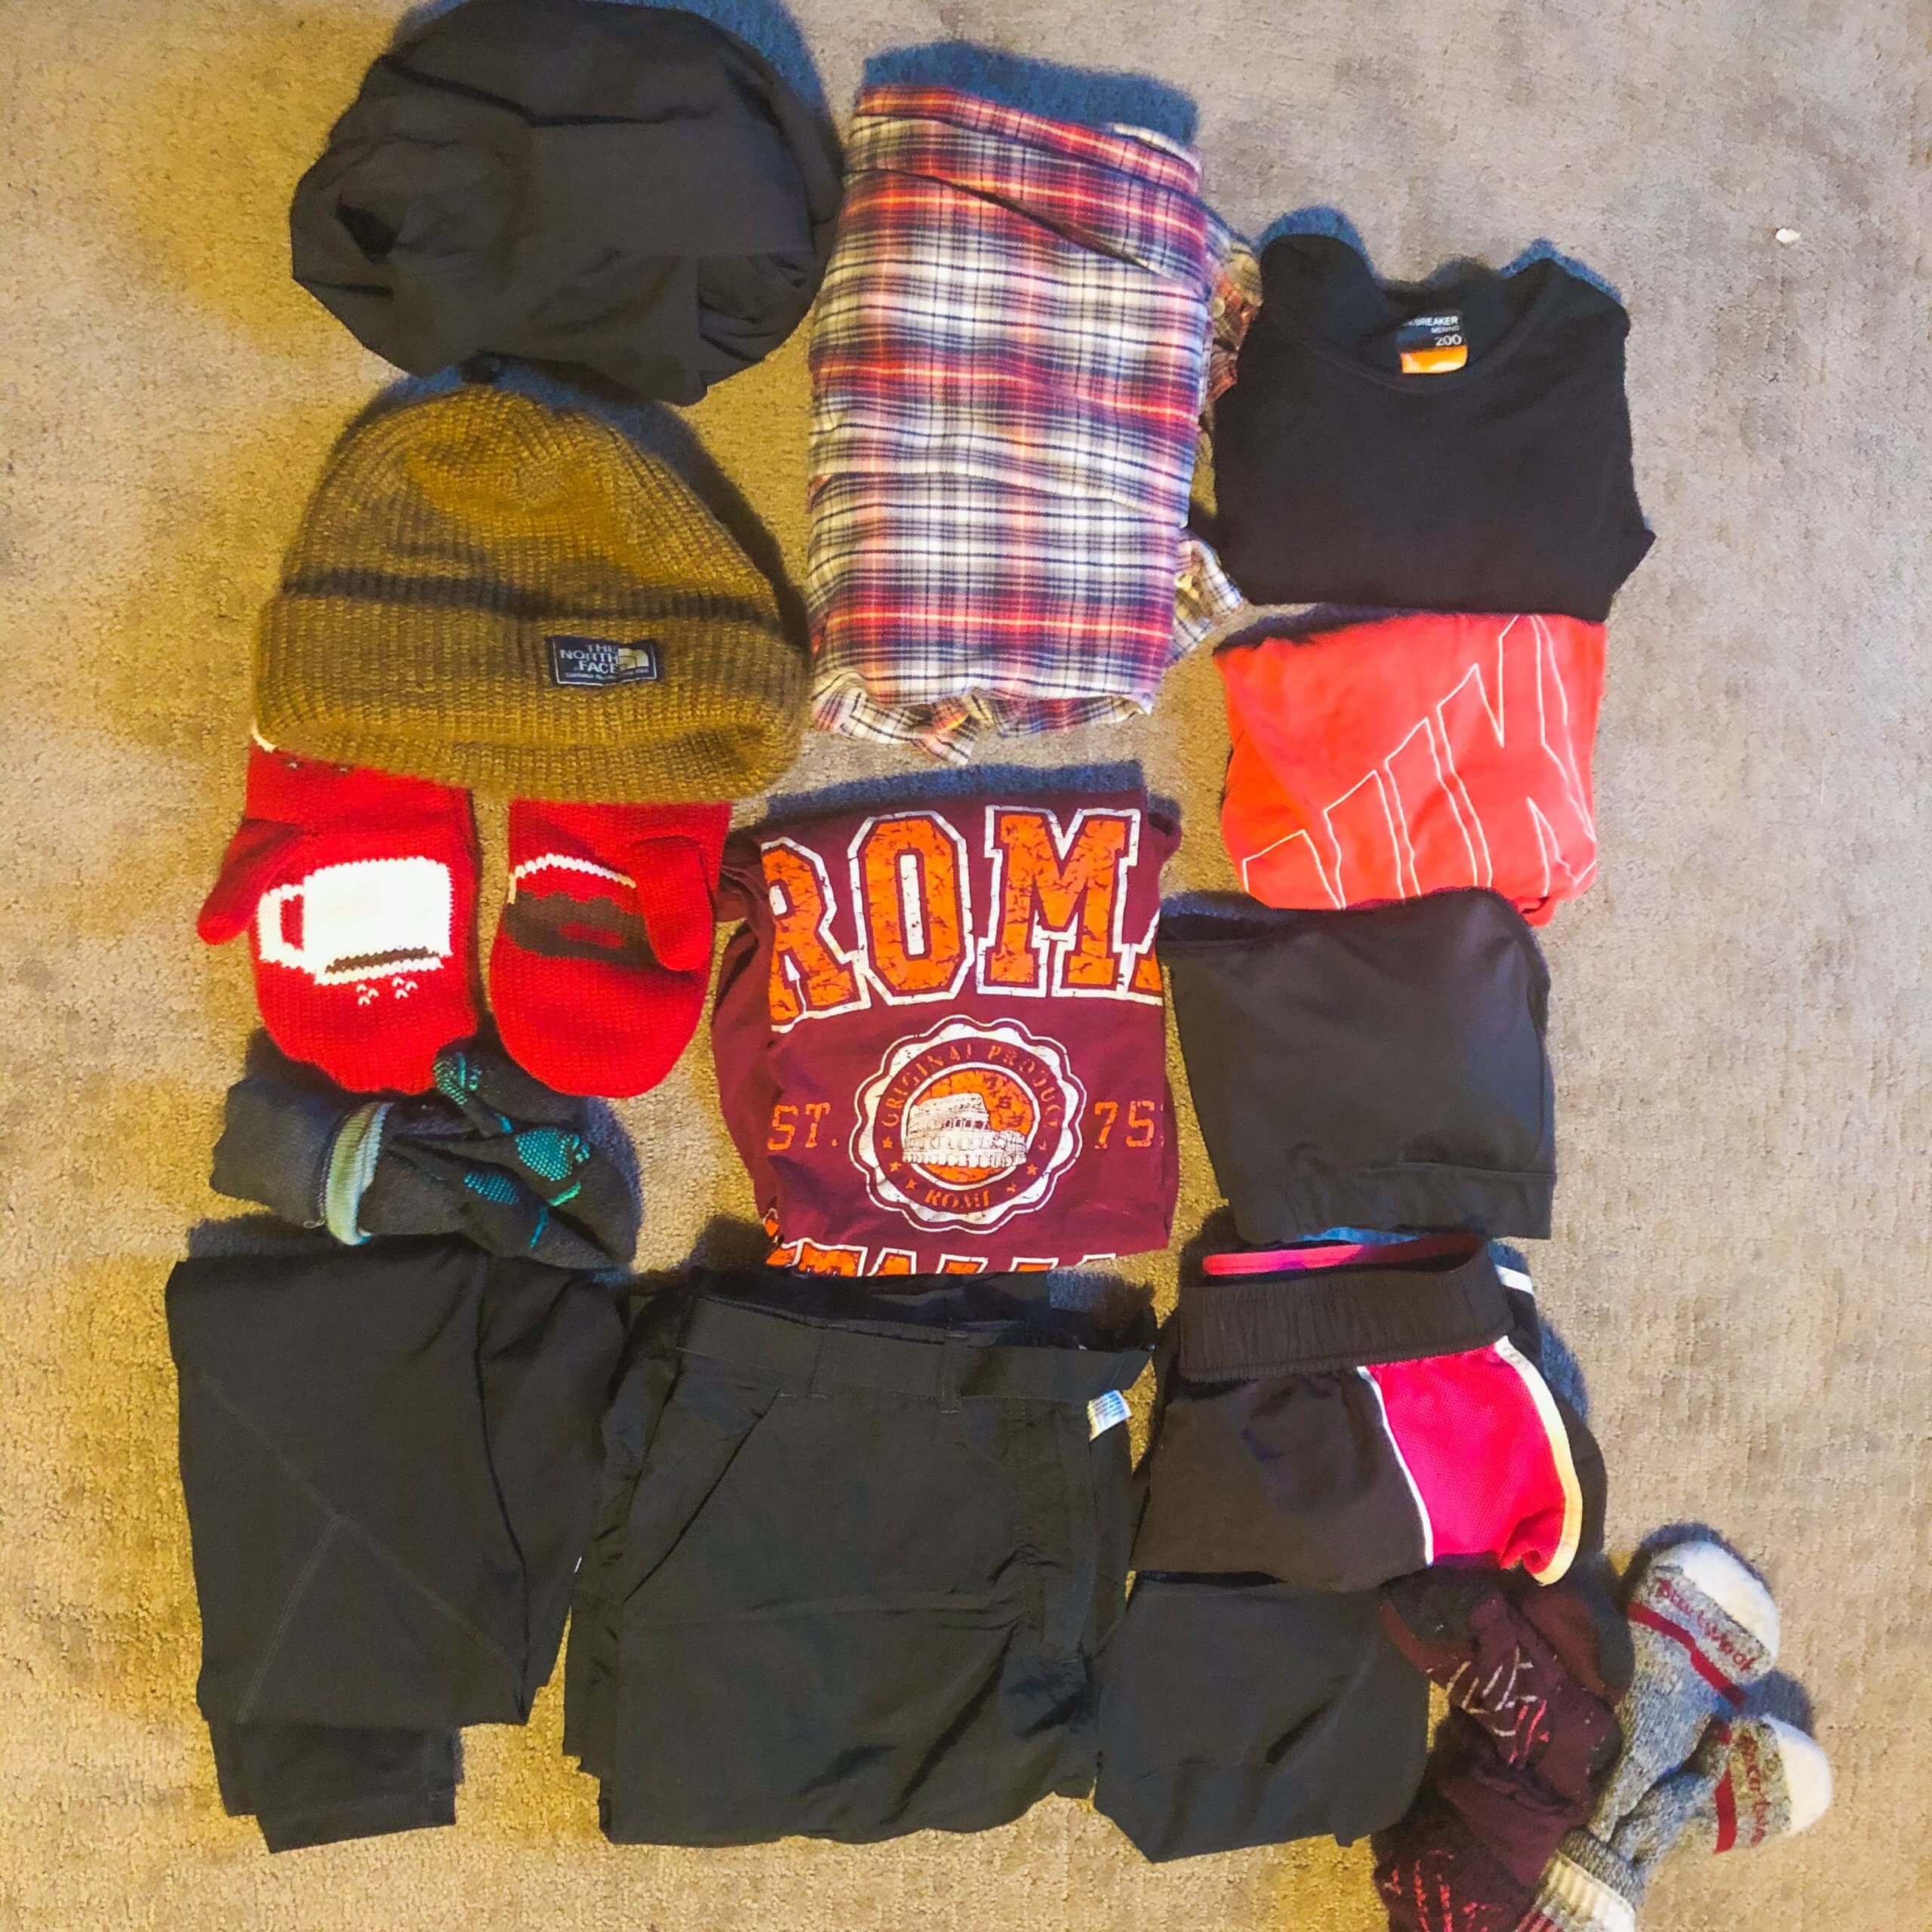
Personal Stuff:
Wet clothes
- Wool socks
- Shorts
- T-shirt/tank
- Long sleeve-thermawool
- Flannel
- Fleece sweater- it stays warm if you get wet
- Portage pants
- Rain jacket and pants
- Sports bra
- Moisture wick underwear
Dry clothes
- Comfy pants
- Shirt
- Long sleeve
- Sweater
- Socks
- Dry shoes
- Toque/mitts
Misc.
- Two water bottles
- Bug cream
- Sunscreen
- Bug net
- Hiking poles
- Camera
- Rain cover for backpack
- Sleeping bag
- Thermarest
Equipment:
Cooking
- Stove (Dragonfly, Whisperlite, Jetboil, etc)
- Lighter & Matches
- Pots (at least 2) -depends on group size and planned meals
- Pans (1)
- Utensils (spatula, spoon, spondonicle, fork, big knife, butter knife)
- Cutting board
- Bowls
- Mugs
- Coffee press (or can make it in pot)
- Oil
- Spice Kit
- Soap kit
- Dish soap
- Scrubby
First Aid Kit
- Moleskin
- Bandaids
- Polyspoirn
- Ice pack
- Baby powder
- Medical tape
- Benadryl
- Tensor bandage
- Molded splint
Toiletries
- Biodegradable soap
- Toothbrush
- Toothpaste
- Toilet paper (1 roll for emergencies)
- Garbage bag
- Trowel
Misc.
- BUY Mantario Hiking Trail Map from Wilderness supply- it is around $11
- Rent a SPOT from Wilderness Supply – there is service on the trail but it is spotty and should not be relied on for emergencies
- Tarp
- Ropes
- Bear bangers/ bear spray
3. How to Pack
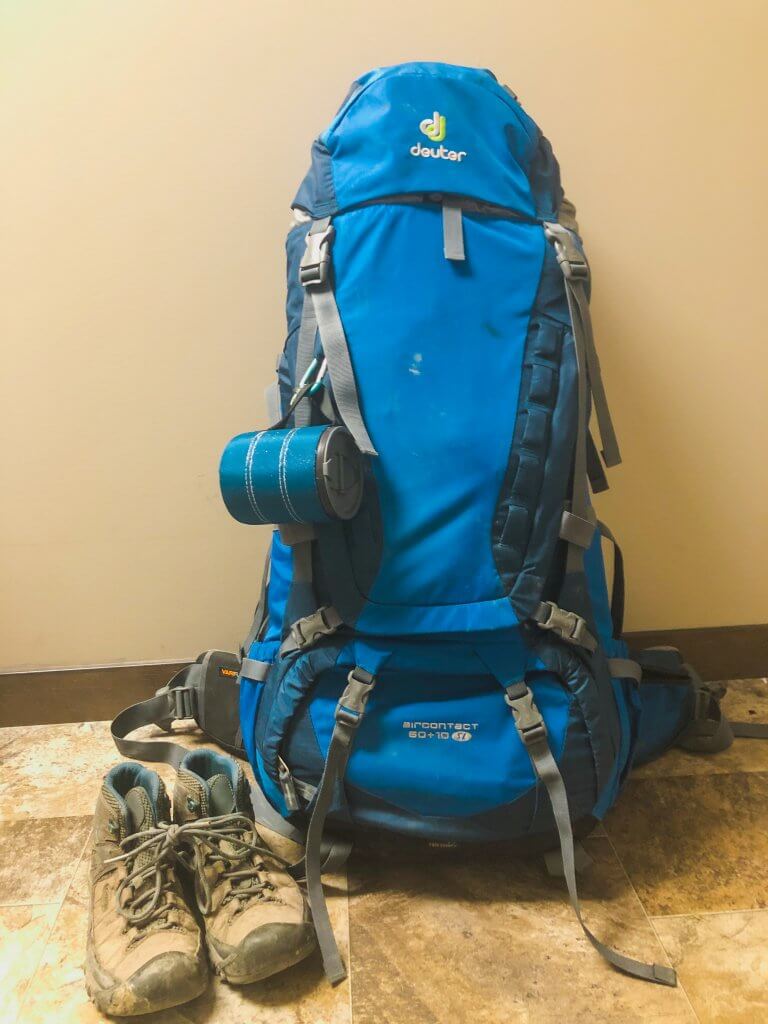
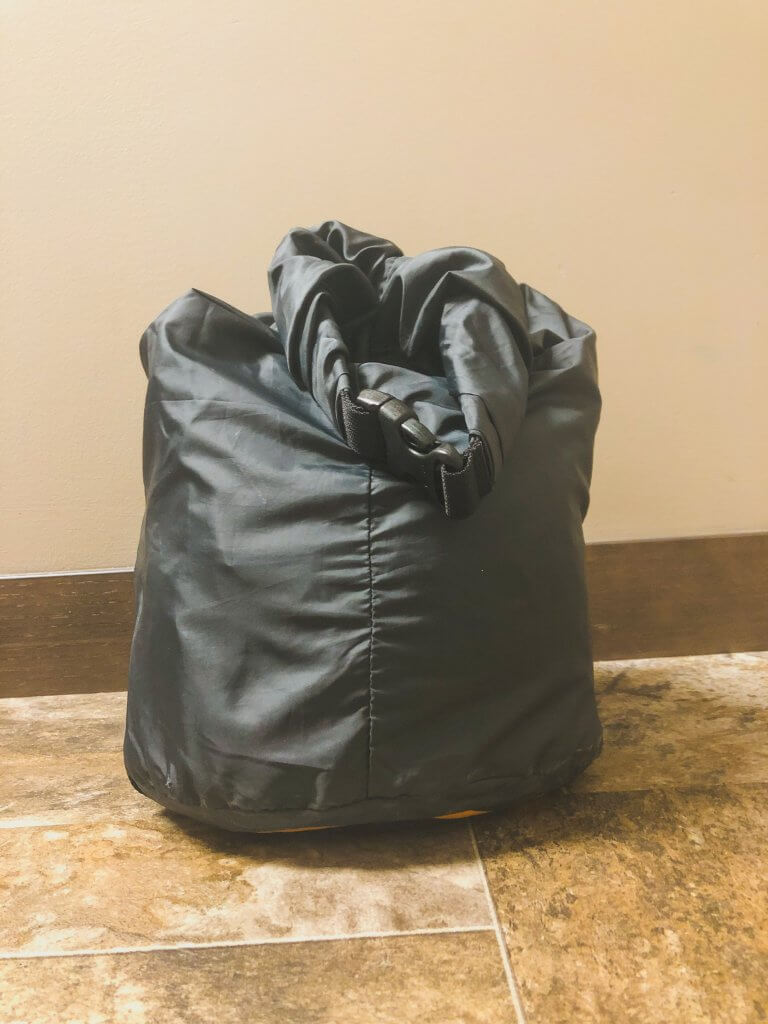
When packing for a hiking or canoeing trip I take my 65L backpacking pack. You will need a pack at least this big to fit all the gear/food. I put my sleeping bag at the bottom of my bag, then thermarest and sleeping bag with food/equipment at the top of my bag so it is more accessible. For food, I pack all of it in dry sacs/old sleeping bag bags so it is easy to grab. First, I try to separate the individual meals/ snacks in plastic bags. Then, I put it all together in the dry sacs by category. For example, all the breakfast stuff goes together, snacks and lunch together, and dinner together. This just makes it easier when you are trying to find something.
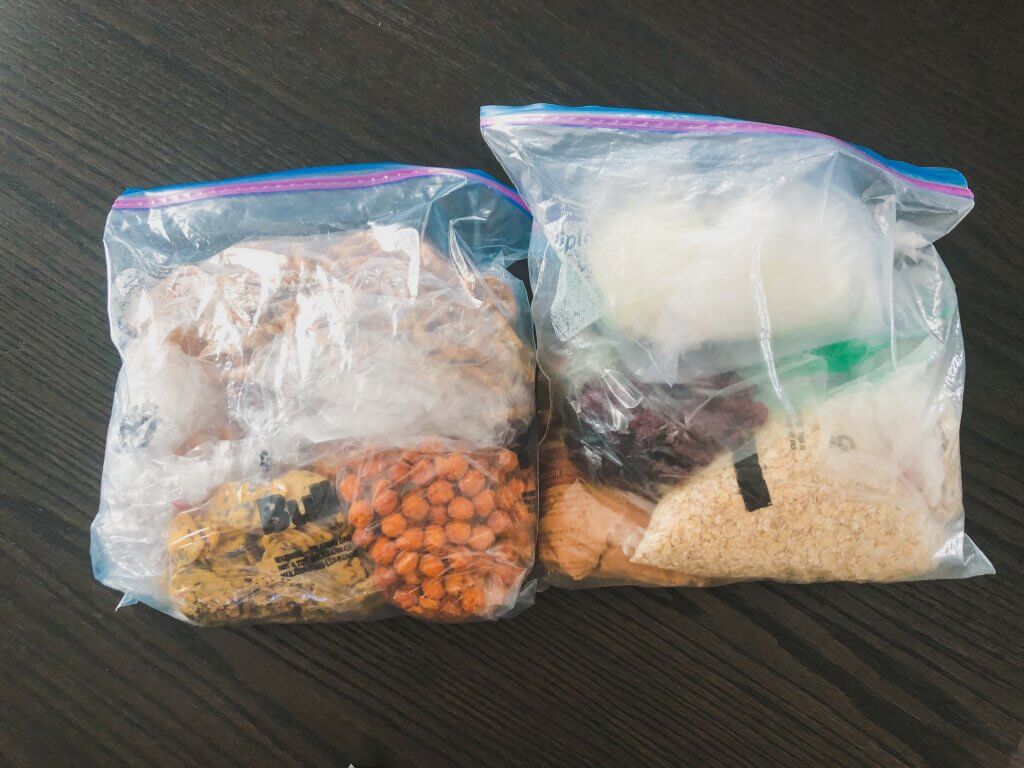
4. What to Eat
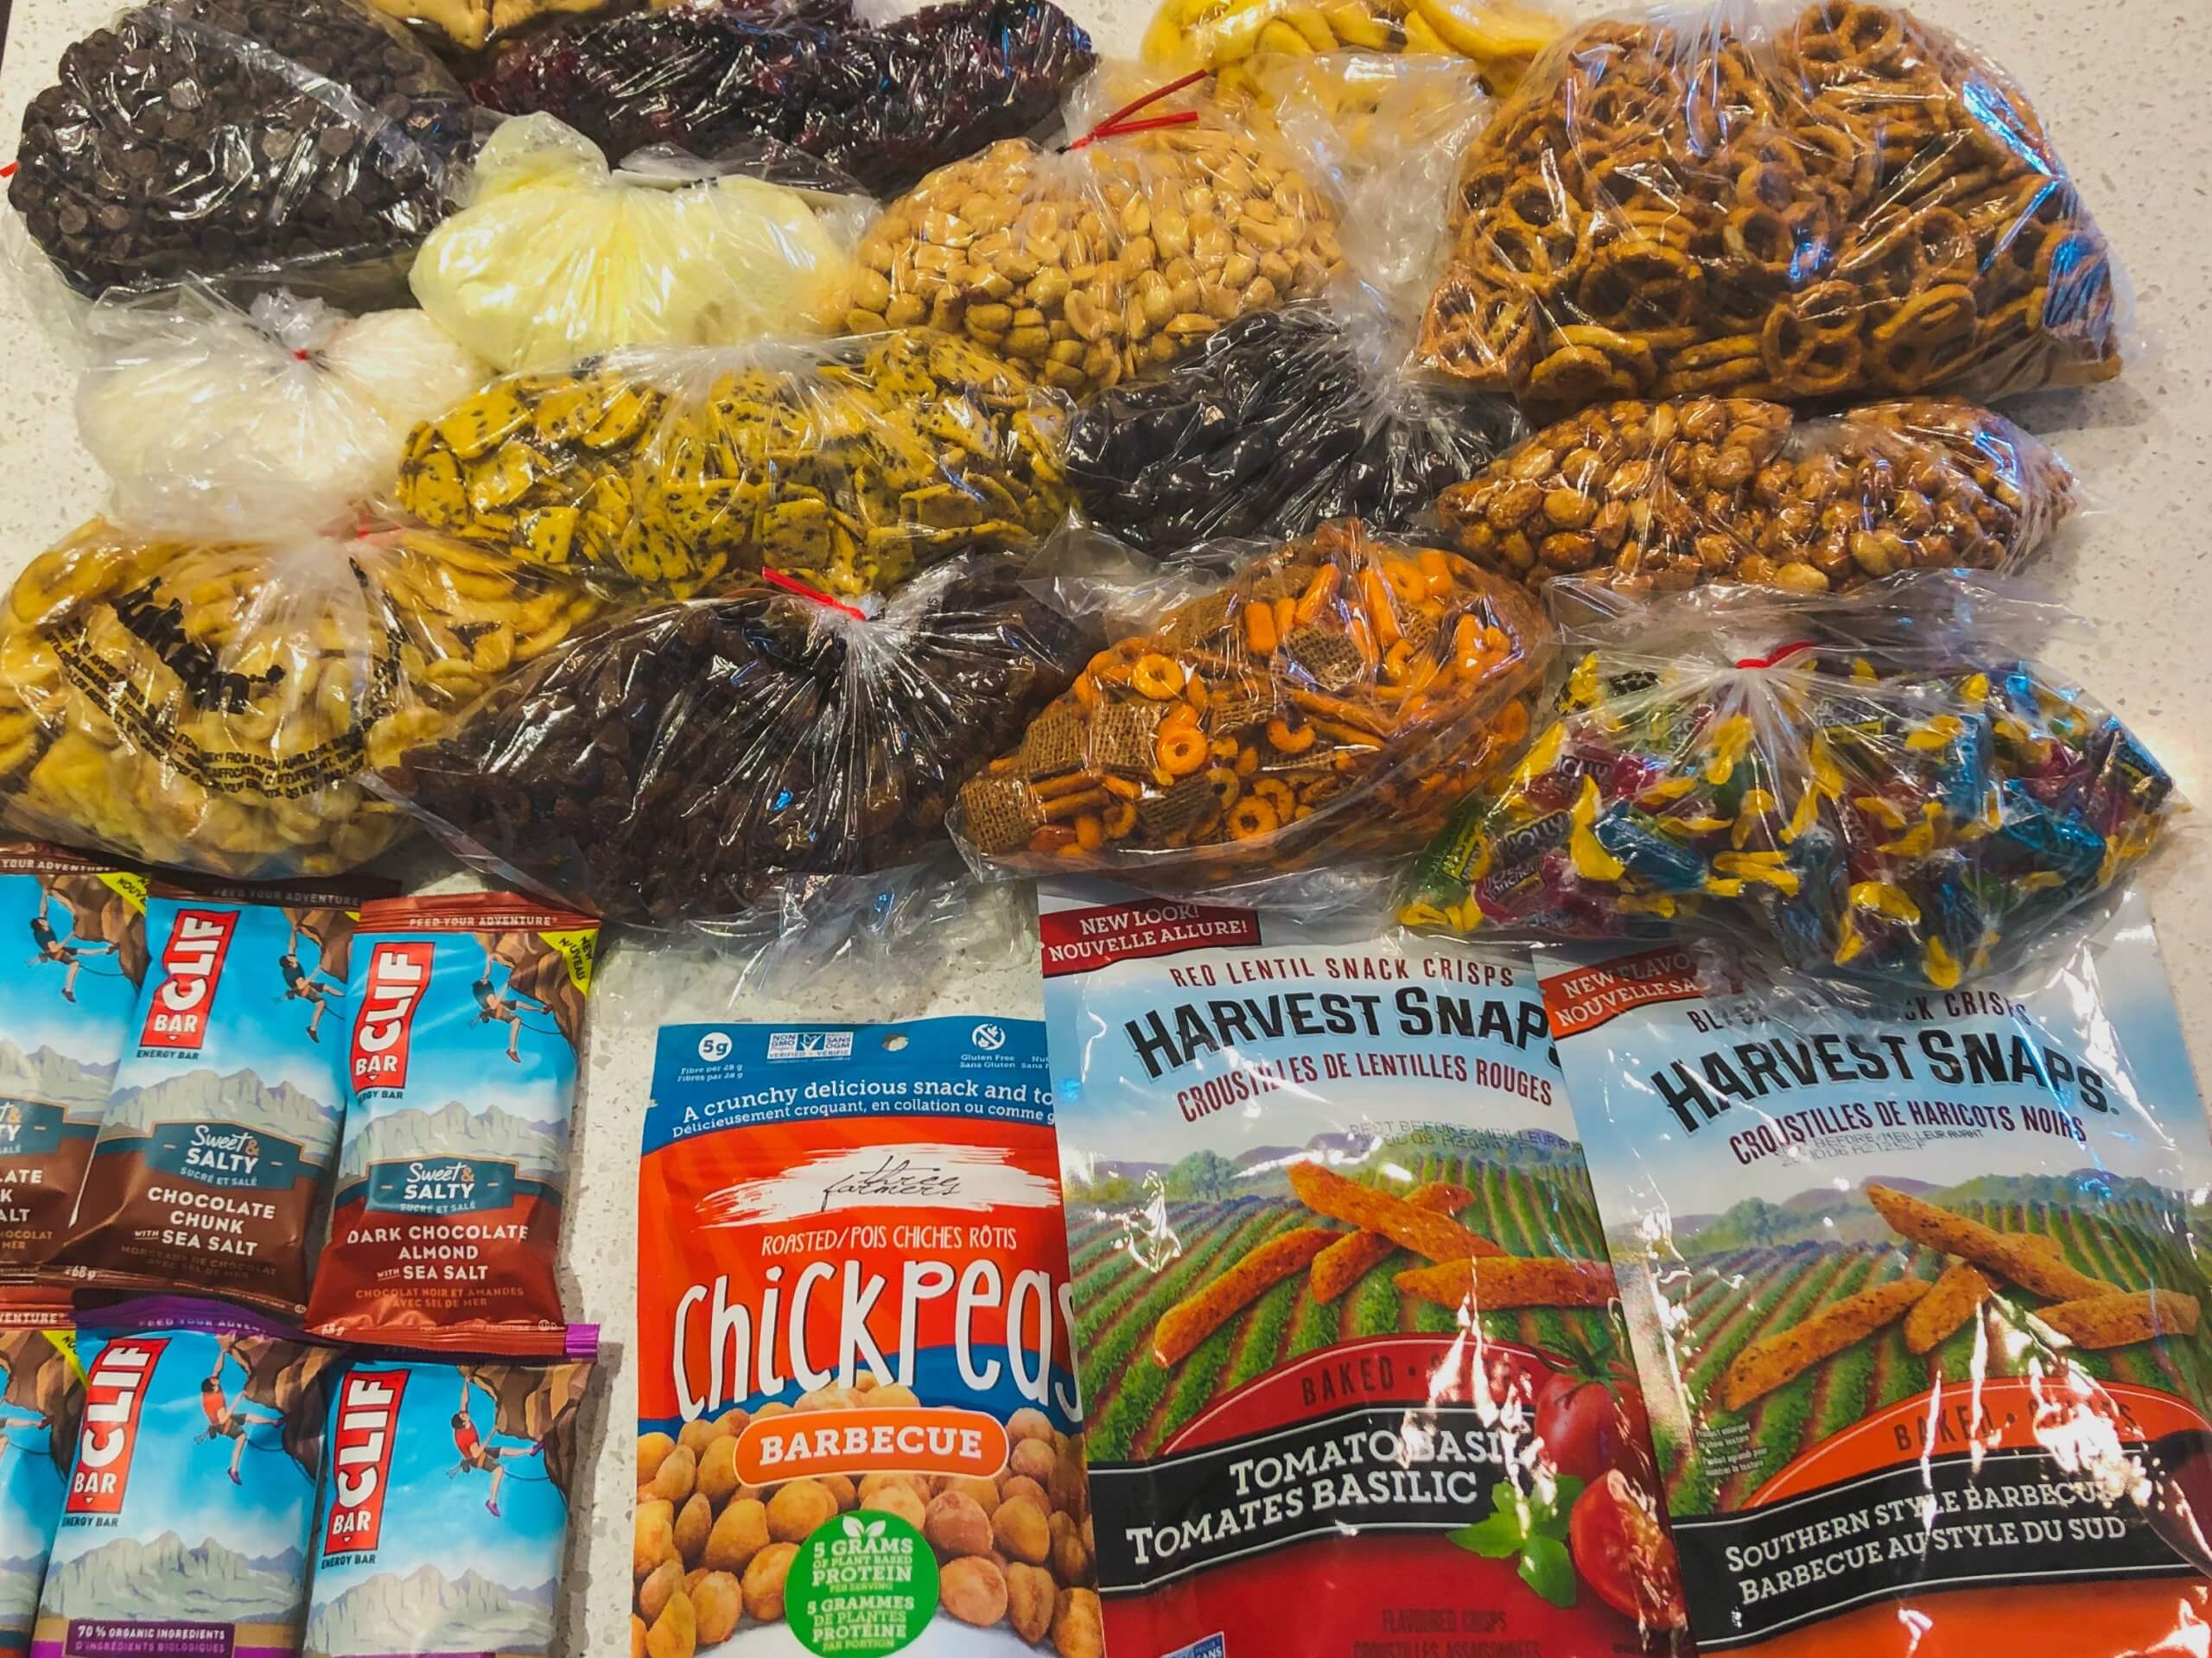
When meal planning think lightweight. This means NO CANS!! You can find a surprising amount of lightweight food at camping stores and at shops like Bulk Barn. Try to incorporate carbs and a protein source in every meal, you’ll need it to fuel your body.
Here’s some ideas based on our meal plan:
Breakfast
- Cereal with Milk Powder
- Oatmeal Sundaes
- Cliff Bars
- Coffee
Lunch
- Crackers/Wraps
- Peanut Butter
- Dehydrated salsa & hummus
- Dried fruit
Snacks
- Trail Mix
- Roasted Chickpeas
- Dried snap peas
- Granola Bars
- Cliff Bars
- Dried fruit
- Energy gels
- Beef jerky/vegan jerky
- Granola
- Kale chips
- Moon Cheese
- Energy Balls
Dinner
*All the meals we got a powdered version at Bulk Barn and just added water for soups & sauces
- Pasta & Sauce
- Couscous & dehydrated vegetables
- Soup & Falafel balls
- Backpacking dried meals
- Lentils
- Instant Potatoes
- Instant Noodles
5. Where to start?
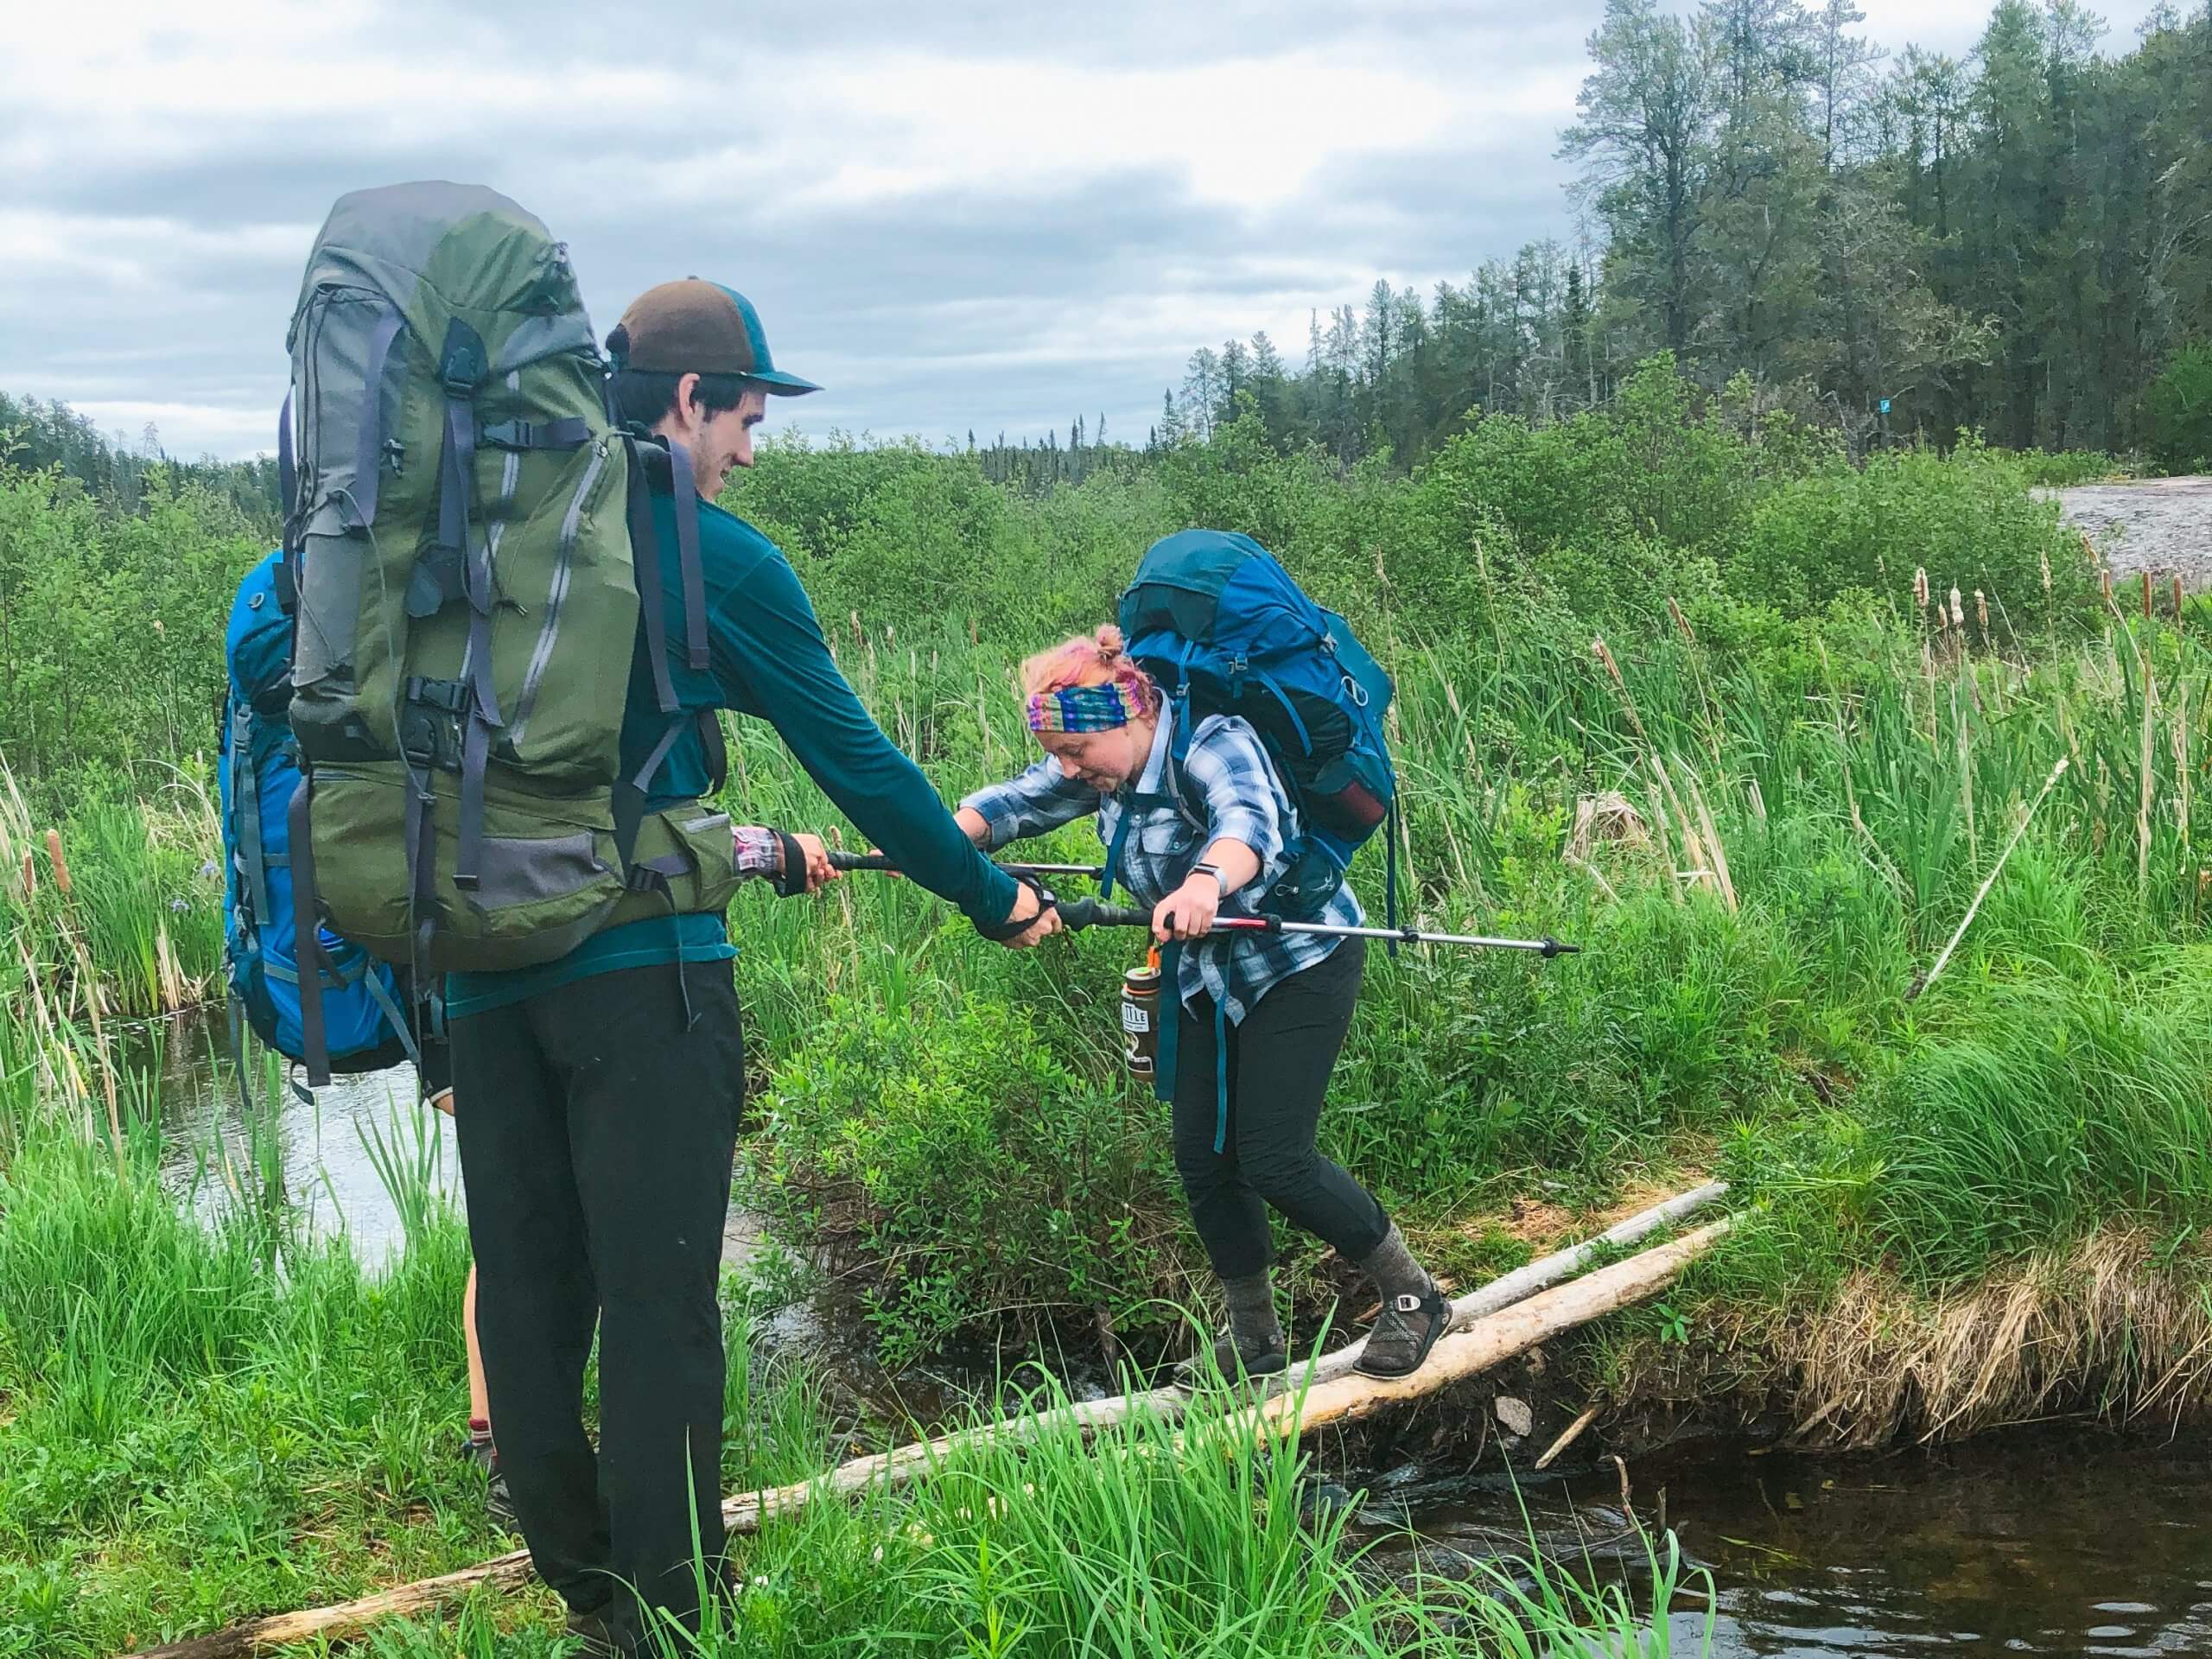
There is always the controversy whether to start with the South Trailhead which is hardest portion of the trail, when legs are fresh or save it till the end when packs are light. Let me tell you, START with the South Trailhead. You do not want to be doing all the ups and downs when you are tired and feet are blistered.
We took two cars, parked one at the North Trailhead and all drove together to the South Trailhead. You can also have someone drop you off and pick you up at the other end but we found it easiest to just take two cars. I’ve heard there are platforms where you can arrange with other hikers to switch keys on the trail and then drive the other persons car back to your own. I never looked into this option, due to COVID.
*REMEMBER- you need two park passes, one for each car, since you are in a provincial park*
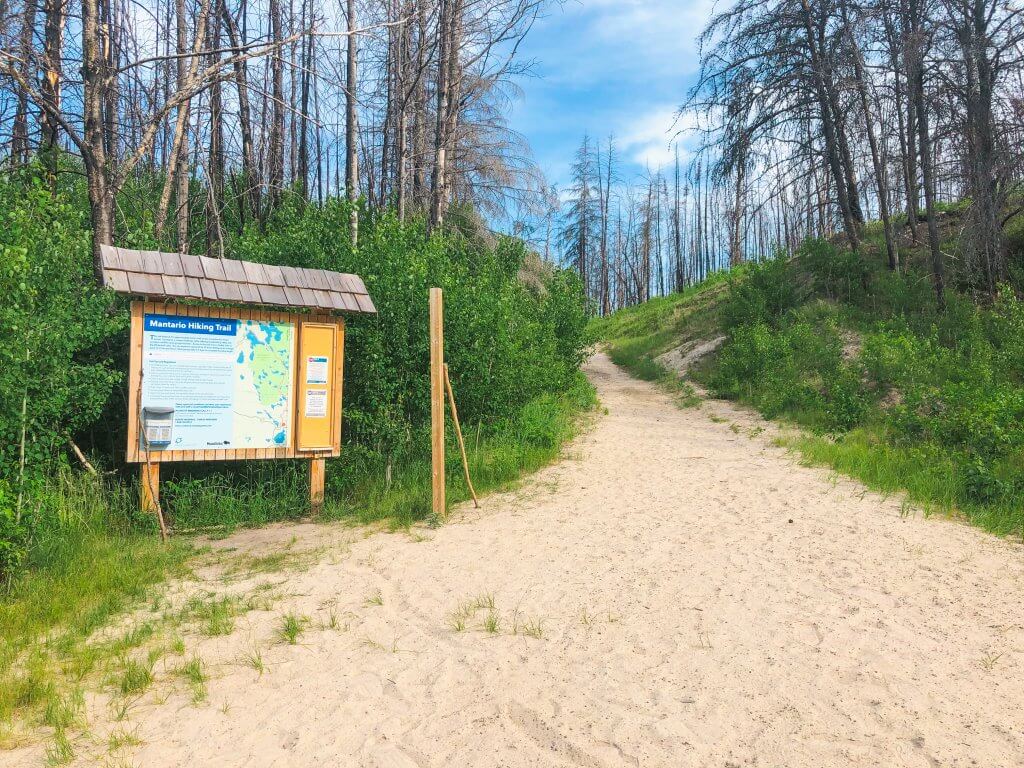
South Trailhead: Complete with a huge parking lot, outhouses and supposedly fresh water. We could never get the pump working so started the trail with half-full water bottles. BRING TWO WATERBOTTLES!!! This will save you from dehydration, the extra weight is worth it, trust me.
North Trailhead: Very tiny parking lot with parking spaces available on either side of the road. No amenities.
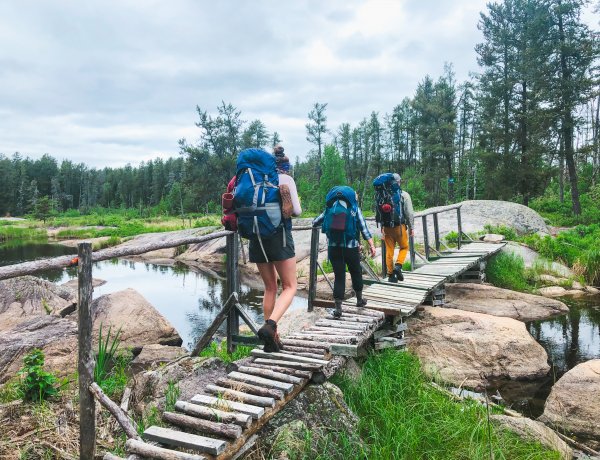
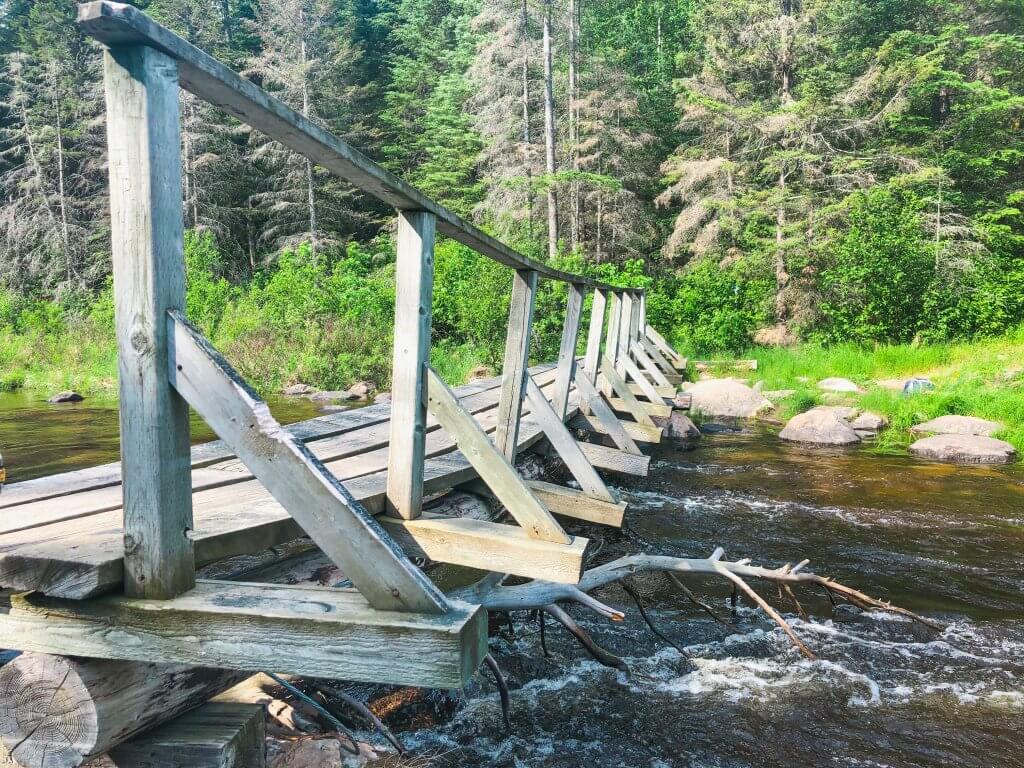
6. The Trail
The trail goes from walking across rocks to forest sections, to swamp. It is pretty well marked by trail arrows, flag tape, or piles of rocks if you are in an opening on a rock. If you are walking for 400-500 meters and don’t see a marker, turn around and go back till when you saw the last marker. There is a lot of “fake” paths that have been made from many people going the wrong way so it looks like a path, but it’s not the right way.
*Times are based off the Wilderness Supply official Mantario Hiking Trail Map. I am not sure who the “average” hiker is in the map, but for a bunch of past wilderness canoe guides in good shape, these times vary.
Leg 1: South Trailhead- Airfield Tower/Caribou Lake
Time: 3 hrs
Distance: 7.2 km
The first leg from South Trailhead to Caribou Lake Junction/Airfield Tower doesn’t actually get you to the lake. You will reach a crossroad with a bunch of signs, one saying go left for the Caribou Lake West Campsite (for one night hikers) and the other saying go right for Caribou Lake East Campsite (for those doing the whole Mantario trail). This is the junction. The sign says 2.5km to the campsite, but it is actually 5km. So prepare yourself. Caribou Lake will be the first lake you will encounter on the hike. Before then, your only source of water is small streams or gross ponds, so make sure you bring lots of water. The first portion is also very open, there is hardly any shade which makes it deadly on a hot day. So getting up early to tackle this is your best bet.
Caribou Lake Junction- Caribou Lake West Campsite
Distance: 2.5 km
Once you reach the junction (crossroads where there are signs pointing right and left) go left if you are doing the overnight hike There are lots of signs directing you once you get to this point so you can’t miss it!
Leg 2: Caribou Lake Junction- Caribou Lake East Campsite
Duration: 1 hr 45 min
Distance: 5.1 km
For continuing on for the whole Mantario go right! This portion felt looong. Again we thought it would only be 2.5 km to the campsite, not 5km. If you are in desperate need of water, there is a section close enough to the lake and a path you can follow to refill. From here you can see the campsite across the lake. This can be encouraging because you can see the site at last, or discouraging because it is still quite a distance away.
Leg 3: Ontario Boarder- Marion Lake
Duration: 2 hrs 30 min
Distance: 6.5 km
All trails lead to Marion Lake! Fill your water bottle before going and enjoy the flatter terrain. You will pass a set of railroad tracks on the way to Marion Lake and be rewarded with a beautiful campsite right on the water at Marion Lake.
Leg 4: Marion Lake – Peggy Lake
Duration: 3 hrs
Distance: 7.7 km
Along this portion, you will find Marion Lake’s second campsite and will follow along a portage route for 300-400 metres before splitting off. Be aware of the signs where the split-off portion is for the Mantario trail so you don’t go too far down the portage path.
Leg 5: Peggy Lake – Moosehead Lake
Duration: 2 hrs 15 min
Distance: 6.3 km
Campsite mania! Along this section of the trail, you will pass by Alice Lake and Olive Lake campsites. Both are super cute and great spots for lunch, a snack, or if you want to end your day here and camp out. Slow your pace when you reach the steep descent before Olive Lake, there will be a rope there to help you climb down, but it can be dangerous when wet.
Leg 6: Moosehead Lake- Mantario Lake
Duration: 3 hrs 20 min
Distance: 8 km
This is said to be another one of the hardest sections of the trail because of all the descents and climbs. You will start to question the point of going down the rock when you know you’ll have to climb back up in two minutes. At one point you will reach a valley where you need to climb up the side of a rock. Look out for flag tape across the valley and up the rock as it is hard to see and may seem like you are going the wrong way.
Leg 7: Mantario Lake- Ritchey Lake Junction
Duration: 3 hrs 50 min
Distance: 7.1 km
There are lots of climbs and descents in this portion, what else is new. The plus side to this is you get to see some beautiful views of the lakes and the forests you pass from a high vantage point.
Leg 8: Ritchey Lake- Hemenway Lake
Duration: 2 hrs 20 min
Distance: 6 km
Almost at the end of the trail! (well kind of). This section is pretty flat easy walk that will take you across a bunch of open rock faces. Be alert for flag tape and rock piles to find your way because it is easy to go down the wrong path, especially since portage trails intersect with the path.
Leg 9: Hemenway Lake- North Trailhead
Duration: 3 hrs 30 min
Distance: 9.1 km
This is the last section of the trail (woohoo!). There isn’t much change in elevation, however, you will hit an old roadway that you will walk down for a while (longer than you would probably like). While this is a nice change, it is SUPER muddy. If you hit this part after a big rain, it may be super slippery and messy! But don’t lose hope, the end is near!
7. Campsites
(More information on campsites coming soon!)
- East Caribou Lake
- For overnight hikers not doing the full trail
- West Caribou Lake
- Awesome large site with multiple firepits and lots of space
- A little bit off the main path, about 200 meters
- Marion Lake
- A really nice large site on a rock looking onto the water
- Marion Lake 2
- Peggy Lake
- Alice Lake
- Olive Lake
- Moosehead Lake
- Beautiful big site
- Mantario Lake
- Ritchey Lake
- Two firepits, enough space to camp away from other people but not as nice as some other sites, very buggy
- Hemenway Lake
- Big Whiteshell
- Big and very nice right on the path
- Easy access to swim since its right on a rock
8. Different Routes
The Mantario Trail is awesome because there are so many campsites along the route you can choose how fast or slow you want to go. Want to do it in three days? Five days? Seven days? Heck, want to run it in one day? (jk me neither, but we did see people running it while we were collapsed on a rock, made us feel super good…. ha) Plan your route in advance based on your skill level and if you want it to be a chill trip or a hardcore push.
Three Day Route
Level: Advanced Hikers
Day 1: South Trailhead to Marion Lake `(18.8km)
Day 2: Marion Lake to Mantario Lake (22km)
Day 3: Mantario Lake to North Trailhead (22.2km)
Four Day Route
Level: Intermediate
Day 1: South Trailhead to Caribou Lake East Campsite (12.3km)
Day 2: Caribou Lake East Campsite to Moosehead Lake (20.5 km)
Day 3: Moosehead Lake to Ritchey Lake Junction (15.1 km)
Day 4: Ritchey Lake Junction to North Trailhead (15.1 km)
Five Day Route
Level: Intermediate
Day 1: South Trailhead to Caribou Lake East Campsite (12.3km)
Day 2: Caribou Lake East Campsite to Peggy Lake (14.2 km)
Day 3: Peggy Lake to Mantario Lake (14.3 km)
Day 4: Mantario Lake to Hemenway Lake (13.1 km)
Day 5: Hemenway Lake to North Trailhead (9.1 km)
Six Day Route
Level: Beginners
Day 1: South Trailhead to Caribou Lake East Campsite (12.3km)
Day 2: Caribou Lake East Campsite to Peggy Lake (14.2 km)
Day 3: Peggy Lake to Moosehead Lake (6.3 km)
Day 4: Moosehead Lake to Mantario Lake (8 km)
Day 5: Mantario Lake to Hemenway Lake (13.1 km)
Day 6: Hemenway Lake to North Trailhead (9.1 km)
Seven Day Route
Level: Beginners
Day 1: South Trailhead to Caribou Lake East Campsite (12.3km)
Day 2: Caribou Lake East Campsite to Peggy Lake (14.2 km)
Day 3: Peggy Lake to Moosehead Lake (6.3 km)
Day 4: Moosehead Lake to Mantario Lake (8km)
Day 5: Mantario to Ritchey Lake Junction (7.1 km)
Day 6: Ritchey Lake Junction to Hemenway Lake (6 km)
Day 7: Hemenway Lake to North Trailhead (9.1 km)
There you have it! The amateurs guide to hiking the Mantario. I wish you the best of luck on your journey and hope you come out with less scraps and blisters than I did!
Interested in what lessons I learned on the trail so you DON’T make the same mistakes? Check it out here!
Treaty 3 Territory